
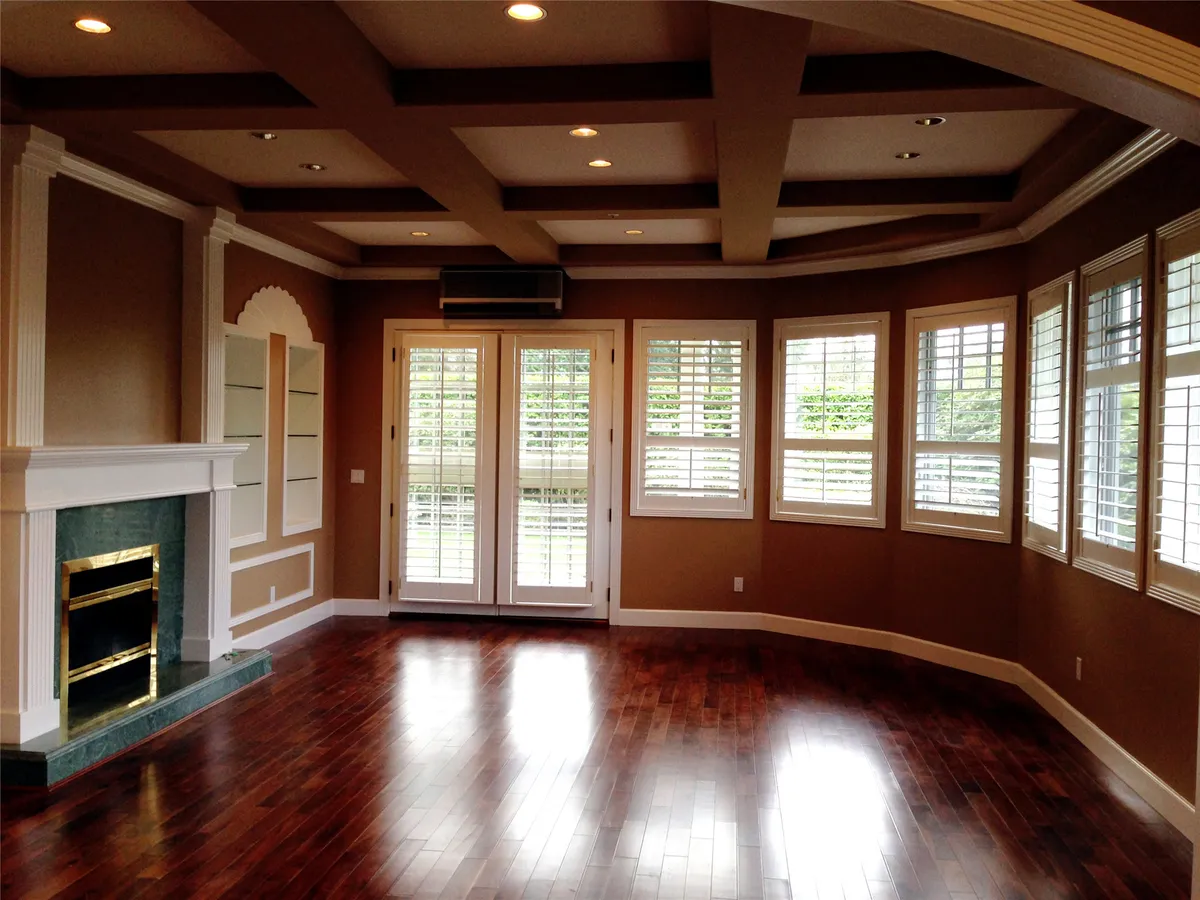
In a heritage-style house on Vancouver’s West Side, the previous paint job gave itself away at the woodwork. Drips caught the light at the edges. Some of the caulk had been left uneven, and nail holes were still visible along the baseboards. The owners wanted those details put right. Covering them with a little more colour would have left the shapes in the finish.
On the West Side interior repaint, Mayda sanded the woodwork, replaced the rough caulking and filled the old nail holes before repainting. The team started with the ceiling, dealt with the gaps around light openings, then masked the edges and painted the walls. The order mattered because the ceiling, trim and wall met in places where every edge could be seen. That is a useful place to begin when you look at your own walls.
Find out what the mark actually is
Look once from the room’s entrance and again up close. A dark streak behind a chair might sit on top of intact paint. A chip might reach the primer or drywall. A shiny patch can be a place that was rubbed, a different finish or an earlier repair. A raised patch and lifted paint need attention to the surface first. If you see repeated peeling or a stain that grows after it rains, ask what might be causing it before choosing paint.
For an intact coating, look up the paint maker’s care directions. A freshly painted surface can need time before cleaning. If a cleaner is suitable, try it first in an inconspicuous spot. Hold the same room light on the area after it dries. If the mark has gone and the sheen looks even, you may already have what you need.
Test a small spot when you can reproduce the finish
Look for the original can or a record of the brand, product, colour code and sheen. Use a small test with a similar application texture. An old wall may have changed from sunlight or cleaning, so even the original colour can look different when dry. Benjamin Moore’s touch-up guide recommends matching both colour and sheen and repairing the surface first. Give the test time to dry according to the instructions before checking it at the doorway, near the window and under lamps.
A separate small repair may work on a sheltered wall. A wall with several filled holes, old patch edges or uneven sheen often reads more evenly if the repaired surface is painted from one corner to the next. A door frame or wall return gives you somewhere natural to stop. You can often keep the rest of the room if its colour and condition still suit you.
Choose a new finish when the wall needs one
If you are repainting an entire wall, look at why it gets marked. A wall beside an entry or desk might benefit from a finish with clearer published cleaning guidance. In a room with strong side light, a washable matte is worth comparing against eggshell where a higher sheen might highlight texture. For a wood baseboard, discuss whether the old finish will accept a compatible trim coating after prep. When the work spans two walls, test the shortlist near the join and see whether the colours meet comfortably.
Before accepting an estimate, walk through the repairs one by one. Decide which patches, gaps or trim damage are included, which surfaces need primer, and where a new finish should stop. Point out the light that makes the old marks stand out. If you have a leftover can, bring it out and keep it labelled once the work is done.
On the day you inspect the finished repair, look from the same spot where the problem first drew your eye. Walk reasonably close to check the edge and then go back to the normal viewing position. That comparison is more useful than looking for differences with a lamp held right against the wall.
Mayda offers interior painting in Greater Vancouver. If you are unsure whether to touch up or repaint, book a free on-site estimate and show us one close-up and one photo from the doorway. We can explain how a small repair might look and where repainting a full section would make more sense.